
This post is the first part of a series, you can read the next posts here:
Part II - Final Fantasy VII scene reconstruction using Blender (Part 2)
Part III - Importing the reconstructed Final Fantasy VII scene into Three.js
Hello everyone, welcome to another of my Final Fantasy reverse engineering posts. In this time I will show you how to reconstruct the scenarios from Final Fantasy VII.
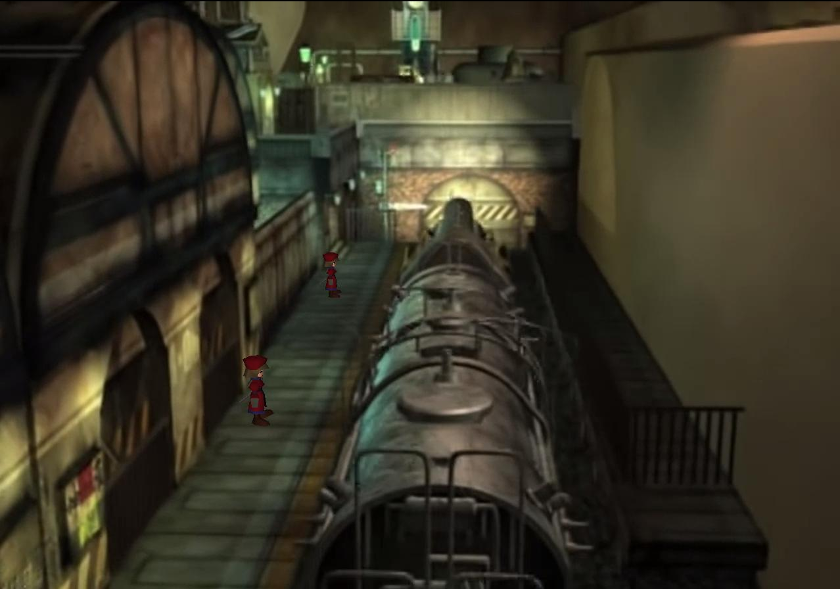
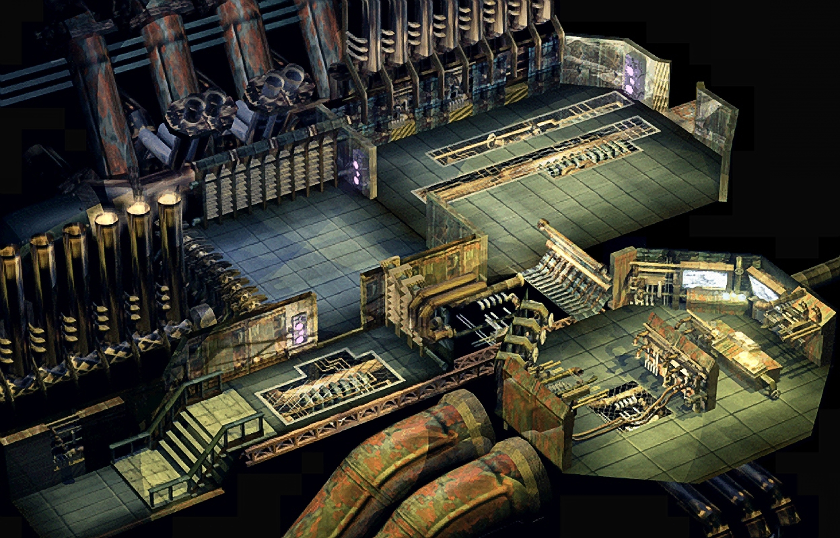
When this game came out in 1997 featured incredible art and graphics, for rendering a highly detailed scenario it made use of a technique popular back then called pre-rendered backgrounds. There are some other games that made use of that technique like Resident Evil 1 and so. So this way of remaking the scenarios would probably work for every game making use of that technique.

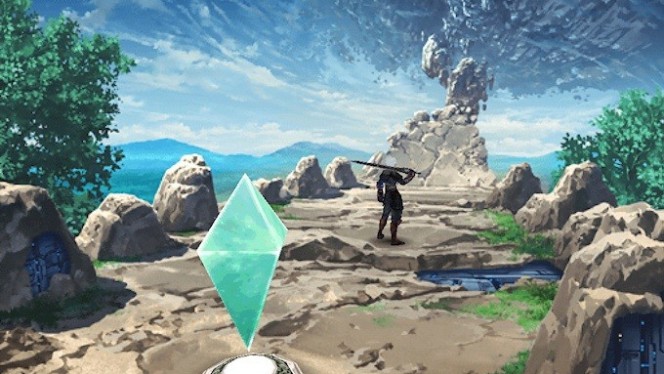
The scenarios are first 3d modeled using some sort of 3d complex software, or even hand painted like in the Chaos Rings series, you can even use real photographs! The only thing you have to end up with is:
- The background image or render.
- The collision mesh (walkmesh).
- The camera placement.
Then, the background is painted as a still image on the game window, and the walkmesh is loaded in the game's 3D world, but not displayed.
Then, the camera is set, the 3D objects as characters and so are placed and interact (collide) with the walkmesh, but you have the illusion that they are interacting with the objects displayed in the background.
There is one way to extract all this needed information directly from tha games data, using the ultimate Final Fantasy VII data extraction tool called Makout Reactor.
But in this case I want to recreate the process of making some Final Fantasy VII scene,and even apply this process for creating new scenes.
First, it is pretty easy to get the background render, you can use Makou Reactor](http://forums.qhimm.com/index.php?PHPSESSID=ei1md765trsg33tfed7htjhrj7&topic=9658.msg133843#msg133843) or you can even look for them in Google images, you can use a picture, a drawing, whatever. But what about the walkmesh? and the camera?. I'm going to explain how to use Blender for getting both.
First from the still image, we will make use of a very good Blender add-on called Blam, you can get it from their github page or directly download the add-on zip file.
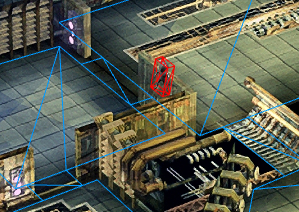
Once you have installed the add-on you can follow the steps along with their super simple and effective tutorial video. I will show how do I get the camera from this Final Fantasy VII first mission backdrop.
Basically what do you have to do is open the image in Blender's movie editor, and using the Grease Pencil Tool draw two lines representing the image's X axis in a layer, and two lines representing the Y axis in another layer. You can use things like floor tiles or any visual reference contained in the image to place the lines.
In my case:
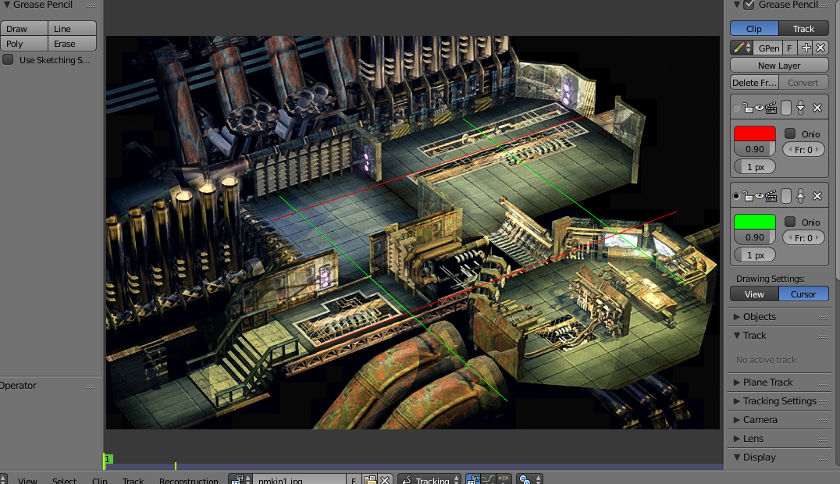
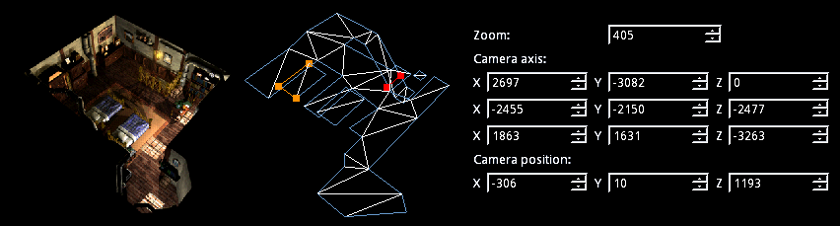
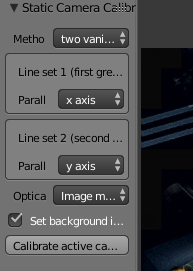
Then in the left side menu, just make sure that Layer 1 is set to X and Layer 2 is set to Y (you can change this or even use another axis, but in this case it is my setup). And click on Calibrate.
The camera will then be automatically transformed into the scene's camera, also, the image itself will be set as the camera's background image.
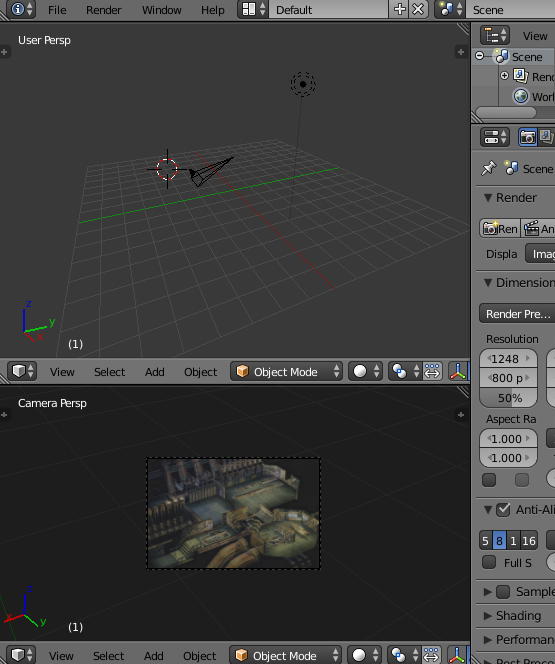
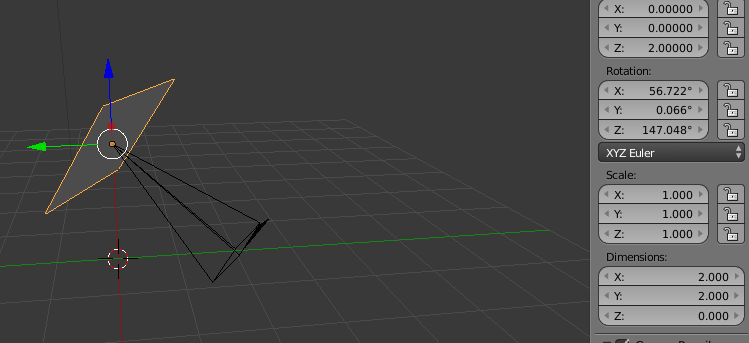
The next step is create a plane.
Now look at the camera's both position and rotation.
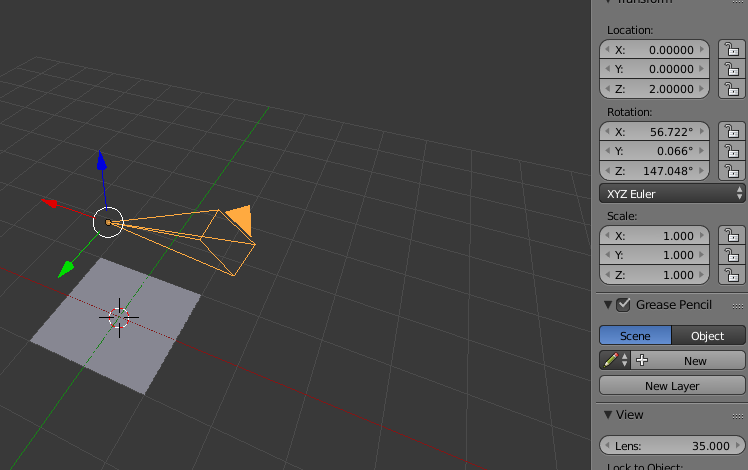
We are copying each one of those values and setting them also for the plane. The plane should end up like this:
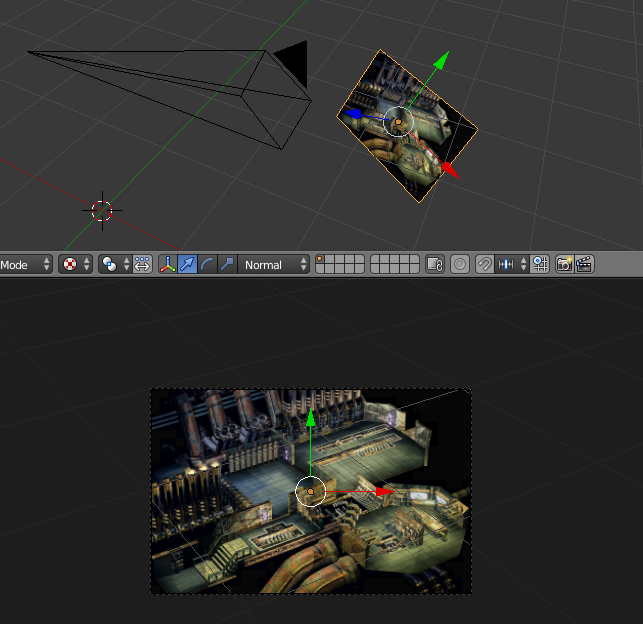
Then set a texture for the plane, use the background image. The four corners of the plane are going to be set to the four corners of the image. The image is going to be distorted, but we are going to fix that in a moment.

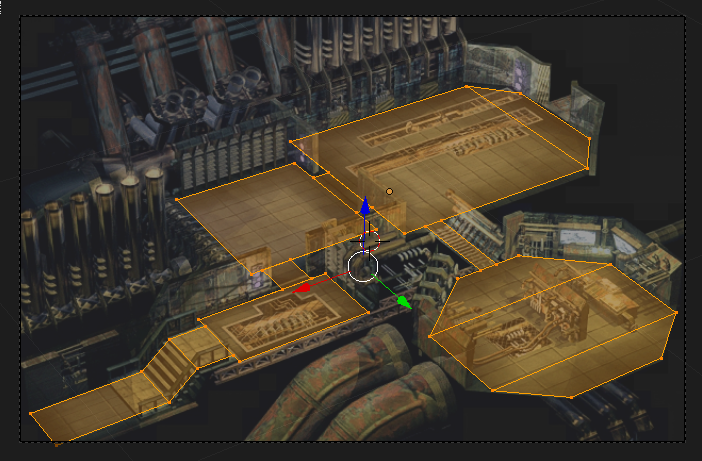
The step now is to set the moving coordinates of the 3D view to local, this way you can move the plane away from the camera, but always facing it perfectly, set the view of the 3D viewport to camera (numpad 0) and adjust the plane to the borders of the camera view moving the plane away and scaling it. Once it matches, the image will have its original pixel ratio again.
After doing that you can create a plane, place it between the camera and the background plane, and extruding and moving its vertices you can create your own walkmesh. Just remember not to move up or down the vertices that are on the same plane, in my example only the vertices before the stairs have a different vertical coordinate.
Once you have the walk mesh, you place an object on it.
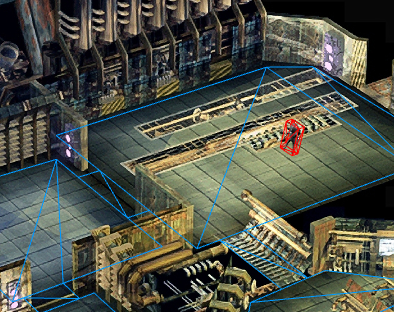
You will notice it looks good, at least until you place it behind a table, a corner or whatever. Then this happens.
We should fix this. So let's see how to do it in the next part of this tutorial.