
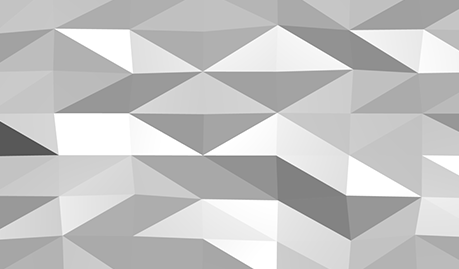
In this article we are going to learn how to create a geometrical abstract background like this one:

There are several methods for achieving this, the reason why I picked this one is because it is easy, really fast and only needs a couple of free tools available for a big variety of operating systems.
The tools needed are GIMP and Blender. So if you don't already have them you have to download and install both before starting.
Once you have done this, run blender and the default scene will appear on your screen. Containing three elements, a cube, a light source and a camera.
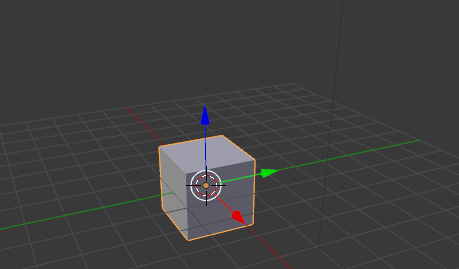
Select (Right-click) and then delete (X) each one of those objects.
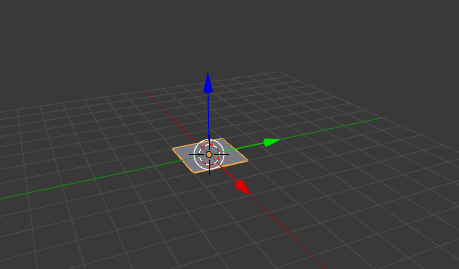
Once the scene is empty, your 3D cursor should be positioned in the center of the scene (0,0,0). If not then you must set it there (Left-click).
Then create a new object (Shift+A) and select Mesh > Plane.
Now set the view to top view (Numpad 7) and repeat the same process for creating a camera.
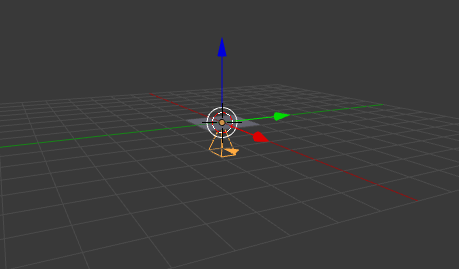
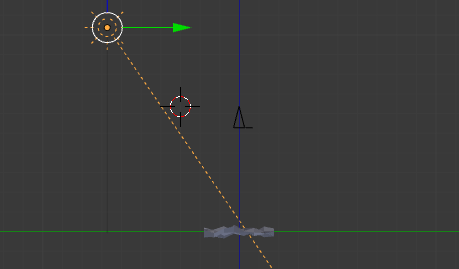
Move the view (Center-click) and then move (G) the camera up along the Z axis (Z).
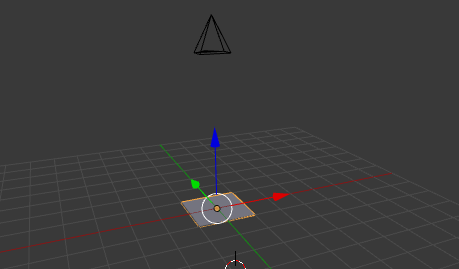
Now after setting the viewport to the active camera (0), scale (S) the plane until the whole viewport area is covered.

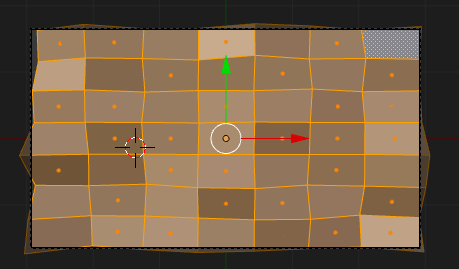
Select the plane and go into edit mode (Tab), if face mode is not set you have to set it (Ctrl+Tab), and select the plane. Open the searchable menu (Space) and choose Subdivide. The plane's only face will get split in two, but if you move to the Tool Shelf (T) in the left side of the screen you can alter some values.
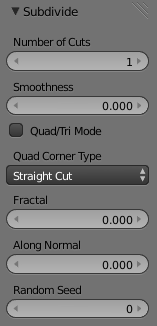
The key is setting Number of Cuts to some value like 5 or so, some Fractal value around 2, and Along Normal exactly to 1. This makes some vertices of the resulting plane move up or down randomly. Random Seed will only change randomly the resulting plane.
For a proper shading you need to add a light source so go back to Object Mode (Tab), in this case I have added (Shift+A) a sun and then moved it over the plane.
The final step for Blender is hitting Render (F12) and it will generate an image like this. Save the image (F3) and close Blender.
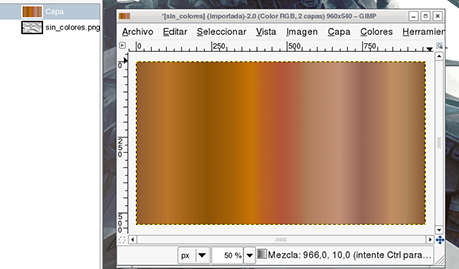
Then open the resulting image using GIMP, show the Layer toolbar (Ctrl+L) and add a new layer (Shift+Ctrl+N) on top of the image. Add colors or whatever you want in it. In my example I added a gradient with some colors. Change the Layer Mode and experiment with the results.
After some adjustments to colors, hue and saturation, brightness and contrast in both layers. I ended up with something like this.

There are tons of different of possibilities using this method, different colors, overlaying a picture, a texture, etc...
Just play around with this process and discover your own.
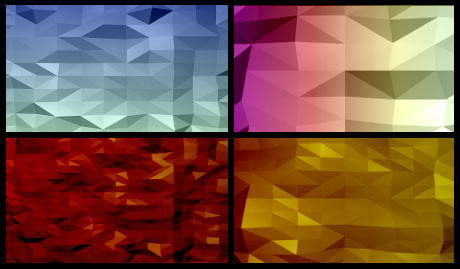
These are some other examples:
Stay creative, have fun, and if you have some feedback or problems doing this method, feel free to leave a comment.