This is going to be a fast and easy tutorial on how to give an old school Game Boy look to a picture using GIMP.
1.- First get the picture you want and open it using GIMP. I'll be using Lenna.
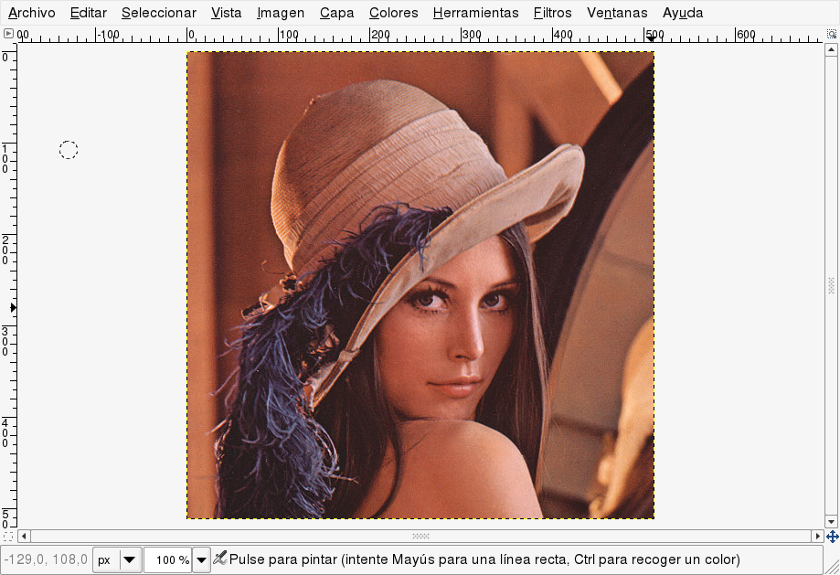
2.- Then go to Colors » Desaturate for turning the image into black and white.
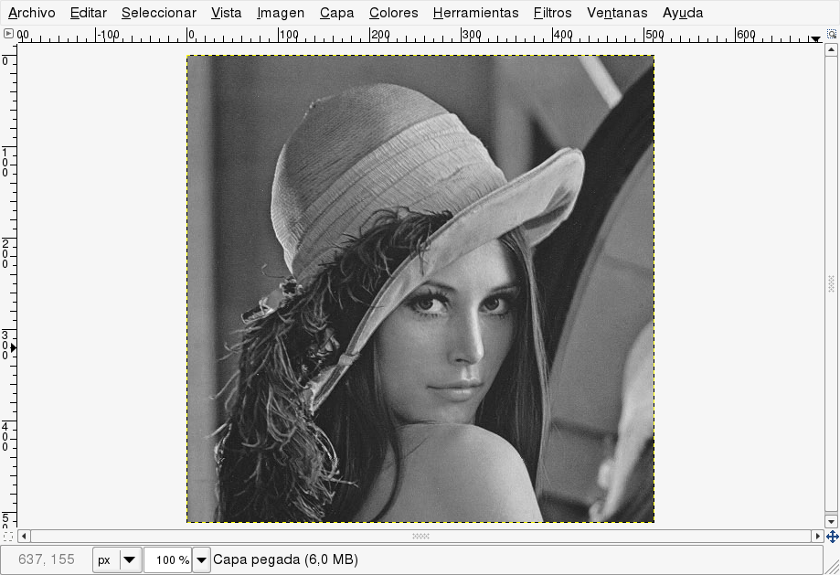
3.- Scale the image, the Game Boy resolution was 160x144. So do this in two steps: First, go to Image » Scale Image in this case my image is squared, so I will scale it 160 pixels of width, then the height will be 160 pixels too. Then go to Image » Canvas Size set the 144px height and center the image.
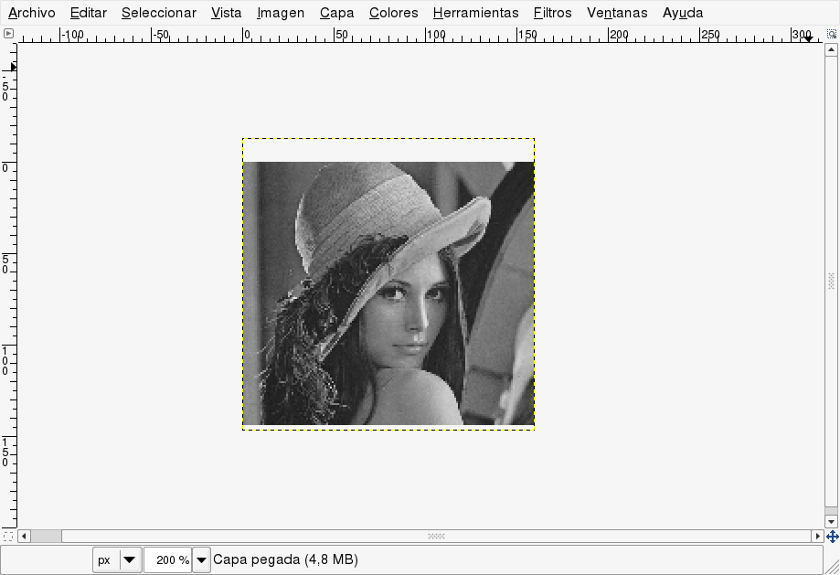
4.- Reduce the number of colors, setting Image » Mode from RGB to Indexed. Then set maximum color number to 4 (The number of colors the Game Boy has). Once the image changes switch back to RGB.
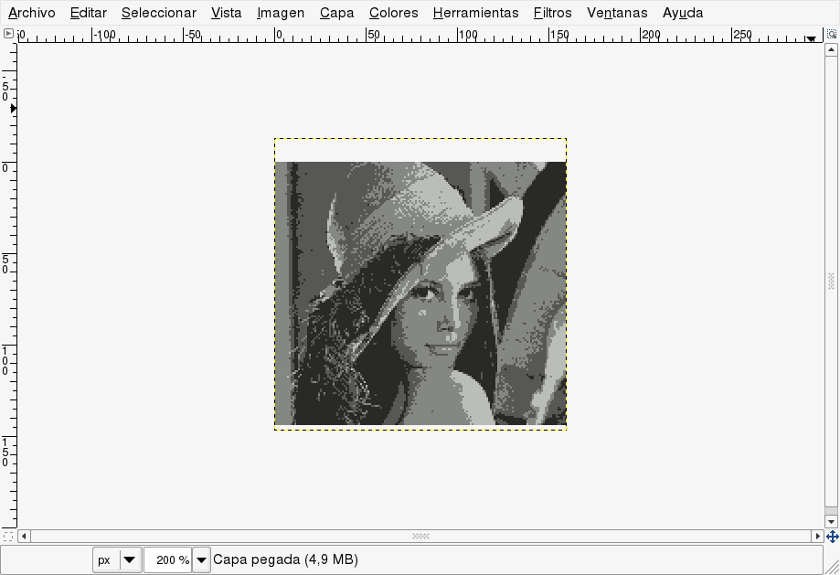
5.- Finally, add a new layer on top with Layer » New Layer. Next paint it dark green using the bucket tool, and finally set in the Layer Toolbar (Ctrl+L) its blending mode to "Overlay". Then the image is finished and should look like this.
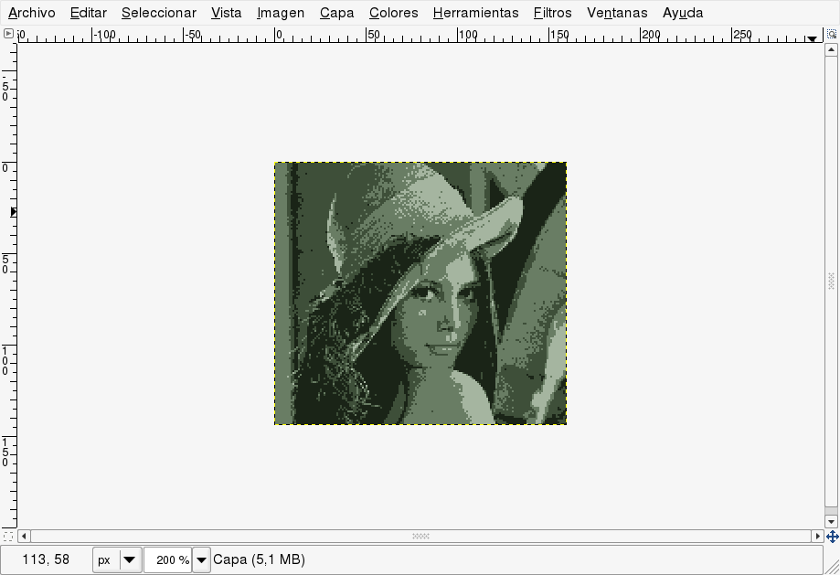
This was an easy and fast method to give the Game Boy look to your pictures. If you want you can play with the Saturation/Contrast/Brightness values to adjust colors and contrast, and finally export it pressing Ctrl+E.
